banbot allows you to perform real-time simulated trading or live trading without modifying your strategies. This document helps you deploy a trading bot to a production environment.
Binance's servers are located in Tokyo, Japan. To ensure network stability during long-term real-time operation, it is recommended that you deploy the robot on a Japanese server.
Risk Warning
Banbot currently does not have a large number of live trading users. Although common live trading use cases have passed testing, there is still a possibility that undiscovered bugs may cause financial losses. Use of this software is at your own risk. The author and all related parties assume no responsibility for your trading results.
If you are planning to start live trading, please ensure that your strategy or yml configuration includes appropriate stop-loss settings to avoid significant losses, and test with a small amount of capital for a period of time first.
Technical Support
We offer preferential live trading servers, Singapore 4C6G only 60 yuan per month, 1ms latency to Binance, and provide live trading technical support services. Go to Purchase
1. Compilation
Compiling from WebUI
You can execute bot to start the WebUI directly, then navigate to /en-US/setting/. On the left side, select 【Compile Code】, and on the right side, choose the target system and architecture. Proceed with the compilation and download.
Compiling from Terminal
Possible values for GOOS: linux, darwin, windows, ...
Possible values for GOARCH: amd64, arm64, ...
export GOARCH="amd64"
export GOOS="linux"
go build -o botexport GOARCH="amd64"
export GOOS="darwin"
go build -o bot# build for windows
$env:GOARCH="amd64"
$env:GOOS="windows"
go build -o bot.exe
# build for linux
$env:GOARCH="amd64"
$env:GOOS="linux"
go build -o bot# build for windows
set GOARCH=amd64
set GOOS=windows
go build -o bot.exe
# build for linux
set GOARCH=amd64
set GOOS=linux
go build -o bot2. Preparing the Database
Install and start TimeScaledb. It is recommended to use Docker for a quick setup. Refer to the documentation.
Save your database connection string: postgresql://postgres:123@timescaledb:5432/ban (You may need to modify the password or database name, etc.)
Note
You do not need to create the database or related table structures. banbot will automatically initialize the database and related table structures upon startup.
3. Editing Configuration
Upload the compiled executable file to the /ban directory on the target server. Create a directory /ban/data as the data directory and set the environment variable BanDataDir=/ban/data.
Then execute /ban/bot init to generate a YML configuration file in /ban/data.
Next, edit the /ban/data/config.local.yml file to set the database connection string, exchange keys, single transaction amount, trading strategy, and cycle, etc.
You can configure multiple strategies and accounts. If you need to run multiple strategies on different accounts, you can create multiple YML configuration files and start multiple bot processes accordingly.
For detailed configuration, refer to the Configuration File.
Note
config.local.yml takes precedence over config.yml. You can modify your configuration in either of these files. There is no need to specify these configuration file paths during startup; they will be automatically read.
4. Starting the Trading Bot
You need to start both the spider process and the bot process. The spider process is used to subscribe to and update public data such as candlestick charts and order books, saving them to the database. The bot process subscribes to candlestick data and other information from the spider process and executes trading strategies. You can start multiple bot processes to run different strategies.
Strategies and trading accounts consume minimal resources. On a 2-core, 2GB VPS, you can start dozens of bot processes, each configured with hundreds of strategies and trading accounts.
Starting the Spider
Execute bot spider to start the spider process immediately. It is recommended to start it in the background and dump the logs:
nohup /ban/bot spider > /tmp/spider.log 2>&1 &Starting the Trading Bot
Execute bot trade to start the real-time trading bot. It is recommended to start it in the background and dump the logs:
nohup /ban/bot trade -config @demo.yml > /tmp/trade.log 2>&1 &Tip
The logs for the spider process will be automatically saved to @logs/spider.log; the logs for the bot process will be automatically saved to @logs/[bot_name].log. Log files will be rotated automatically when they exceed 300MB in size.
However, these files can only record the log output during normal operation. If the robot terminates unexpectedly, the panic error log at the time of exit cannot be recorded. Therefore, it is recommended that when you start the spider and the robot, you redirect the stdout and stderr outputs to a certain file.
5. Notifications, DashBoard, and Monitoring
Notifications
You can configure rpc_channels in the YML file for notifications. Messages will be sent to your social apps when the bot starts, stops, enters a position, or exits a position. Currently supported:
- WeWork: Send messages through WeWork bot
- Email Notifications: Send email notifications via SMTP
WeWork Notification Setup
You can follow the WeCom plugin in WeChat (scan the QR code from the WeCom PC management console) to receive these messages in WeChat.
Email Notification Setup
Configure email notifications to receive timely email alerts when system exceptions occur:
# Email service configuration
mail:
  enable: true
  host: smtp.qq.com
  port: 465
  username: your_email@qq.com
  password: your_authorization_code

# Email notification channel
rpc_channels:
  mail_exception:
    type: mail
    disable: false
    msg_types: [exception]
    min_intv_secs: 300  # Send at most once every 5 minutes
    touser: 'alert@company.com'
Telegram Notification Setup
banbot supports two Telegram notification methods: official bot and custom bot.
Method 1: Official Bot (Recommended)
Use banbot's official Telegram bot, no need to apply for Bot Token, simplest configuration:
rpc_channels:
  telegram_bot:
    type: telegram
    disable: false
    secret: ""  # Optional: custom UUID v4 format secret, auto-generated if empty
    msg_types: [entry, exit, status, exception]
    min_intv_secs: 5
After starting the bot, the log will output information similar to:
Manage Your Bot On https://t.me/trade_banbot?start=xxxxxxxx-xxxx-xxxx-xxxx-xxxxxxxxxxxxClick the link or search for @trade_banbot in Telegram, send /start xxxxxxxx-xxxx-xxxx-xxxx-xxxxxxxxxxxx to bind.
Tip
The official bot method requires no proxy configuration, connects through encrypted channels, suitable for network-restricted environments.
Method 2: Custom Bot
Create your own Telegram bot with full control:
rpc_channels:
  telegram_bot:
    type: telegram
    disable: false
    token: "123456789:ABCdefGHIjklMNOpqrsTUVwxyz"  # Required: Bot Token
    chat_id: "987654321"                           # Required: Chat ID
    proxy: "http://127.0.0.1:7897"                 # Optional: Proxy address
    msg_types: [entry, exit, status, exception]
    min_intv_secs: 5
Obtaining Bot Token and Chat ID:
- Find
@BotFatherin Telegram, send/newbotto create a bot and get the Token - Add the bot to your chat, send any message, then visit:Find the
https://api.telegram.org/bot<YOUR_TOKEN>/getUpdateschat.idfield value in the returned JSON
Note
Custom bot requires access to Telegram API. If network is restricted, configure proxy address.
Common Configuration
| Parameter | Description | Default |
|---|---|---|
type | Channel type, must be telegram | - |
disable | Whether to disable this notification channel | false |
msg_types | Message types: entry for entry, exit for exit, status for status, exception for exceptions | [] |
min_intv_secs | Minimum send interval (seconds), avoid too frequent messages | 0 |
retry_delay | Retry delay after send failure (seconds) | 30 |
Telegram Control Commands
After configuration, you can remotely control the bot with the following commands:
| Command | Function |
|---|---|
/menu | Display interactive operation menu (recommended) |
/account | View account list and switch accounts |
/switch [account] | Switch to specified account |
/orders | View current account's order list |
/close [orderID|all] | Close specified order or all orders |
/status | View current account's trading status |
/disable [hours] | Disable current account from opening positions (default 1 hour) |
/enable | Re-enable current account to open positions |
/wallet | View current account's wallet balance |
/help | Display help information |
Multi-Account Management
If multiple trading accounts are configured, use /account to view all accounts, switch accounts via /switch, and all operations (view orders, close positions, disable opening, etc.) apply to the currently active account.
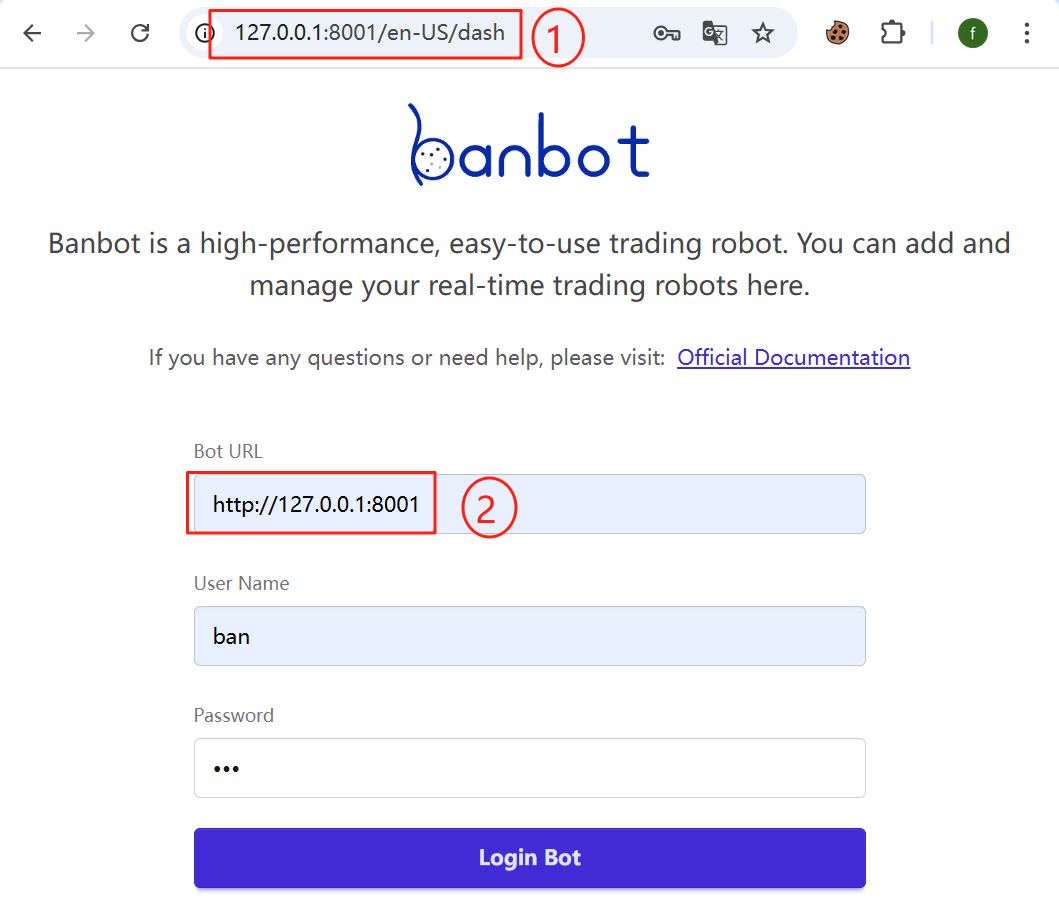
DashBoard UI
You can configure api_server in the yml file. This will start a web service simultaneously when the bot is launched. After the bot is started, you can access the bot's DashBoard using the configured username and password to view the trading overview and manage the bot.
api_server:
  enable: enable
  bind_ip: 127.0.0.1
  port: 8001  # Needs to be allowed in firewall or through nginx reverse proxy
  jwt_secret_key: '[very_strong_secret]'
  users:
    - user: ban
      pwd: '123'
      allow_ips: []  # Allowed client IPs
      acc_roles:
        user1: admin  # user1 corresponds to the user key in accounts
The web service mentioned above is started with HTTP. It is recommended that you set the bind_ip to the local or intranet IP of the server to prevent unauthorized access.
If you need to access the server's Dashboard from your local machine, you can connect to the server running the bot via SSH and then use port forwarding to forward requests from a local port to the server port:
ssh -L [local_port]:[server_bind_ip]:[server_port] [username]@server_public_address
# e.g.
ssh -L 8001:127.0.0.1:8001 your_username@remote_server_address
Tip
If you need to expose the dashboard to the Internet, it is strongly recommended that you configure https through nginx and set a strong account and password.
When starting a live trading locally or after SSH port forwarding, the access URL for the robot is always 127.0.0.1:[port], where [port] is the value of
api_server.port.
If you use an nginx reverse proxy, these two addresses should be the ones accessed from nginx, such as "https://bot.myserver.com/8001"
Live Trading vs Backtesting Comparison
Banbot supports scheduled execution of backtests with the same configuration during live trading. It compares each backtest order record with the open orders in live trading and the exchange positions one by one to check for issues such as missed or incorrectly placed orders in live trading:
# Live trading backtest configuration
bt_in_live:
  cron: "0 0 * * *"  # Backtest frequency, cron expression, executed at 0:00 daily
  account: "account1"
  mail_to: ["trader@company.com"]  # The comparison results will be sent to the configured email addresses
mail:  # You also need to set up the email sender; for details, refer to the email notification above
  enable: true
Monitoring
You can use crontab to periodically execute the check_bot.sh script to check the bot's status and send email notifications.
# for centos 8
dnf install mailx
vi /etc/mail.rc
Sample configuration:
set smtp=smtps://smtp.gmail.com:465
set smtp-auth=login
set smtp-auth-user=your_email@gmail.com
set from=your_email@gmail.com
set smtp-auth-password=your_email_password
set ssl-verify=ignore
Test the email sending function:
echo "Test email body" | mail -s "Test email subject" recipient@example.comOpen crontab:
crontab -eAdd a line:
*/5 * * * * /ban/check_bot.sh trade user1@example.com user2@example.comGrant execution permissions to the script:
chmod +x /ban/check_bot.sh