One-click Start with Docker
It is recommended to use runbanbot (docker) for one-click startup, with no configuration required and ready to use out of the box.
After a successful startup, open your browser and visit 127.0.0.1:8000/en-US to access the Web UI.
In the Web UI, you can add/modify strategies, run backtests, manage data, etc.
You can also use VS Code or GoLand to open the strats directory located next to docker-compose.yml and edit strategies directly (this requires Golang to be installed locally).
If you are using runbanbot to start the service, you do not need to continue reading this page.
If you prefer to install and start it locally, you can follow the steps below to quickly configure and run banbot locally:
Step 1. Local Installation
You need to install TimeScaleDB and the Golang development environment:
- TimeScaleDB: a high-performance time-series database based on PostgreSQL, used to store public data such as candlesticks (order data is stored using sqlite).
- Golang: it is recommended to use the latest version.
You may also refer to the installation tutorial video on Bilibili:
https://www.bilibili.com/video/BV1QuLozqEzg/
Install TimeScaleDB
Installing TimeScaleDB from packages is relatively complex and time-consuming, so it is strongly recommended to use runbanbot (docker) for one-click startup.
You can also start only the database using Docker without starting banbot:
docker compose up -d timescaledbbanbot uses TimeScaleDB only to store public data such as candlesticks or symbols. Your order data during backtesting or live trading will be stored in files using either gob or sqlite.
Install Golang
Download and install Golang from the official website: https://go.dev/doc/install
TIP
If your network environment cannot directly access golang.org, please configure a domestic mirror.
Step 2. Get the example strategy project and compile it
You can directly pull the example project using git: git clone https://github.com/banbox/banstrats
If you don’t have the git tool installed, you can also open the banstrats webpage, download the zip file, and extract it.
After preparing the example strategy project, navigate to the project root directory (the folder with go.mod), and execute the following commands in the terminal (command line):
# Initialize dependencies
go mod tidy

# Compile the strategy and banbot into a single executable file
go build -o bot# Initialize dependencies
go mod tidy
# Compile the strategy and banbot into a single executable file
go build -o bot.exe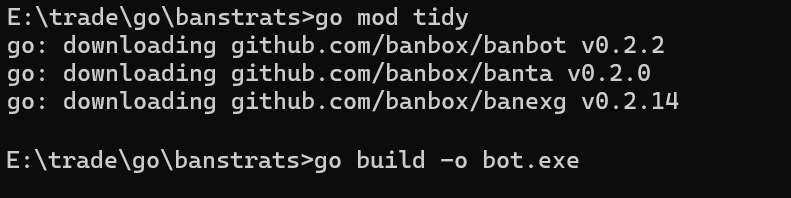
When you execute go build in your policy project, your policy will be packaged together with the banbot source code into a single executable file, which you can use for backtesting, live testing, or launching the WebUI, etc.
Step 3. Configure environment variables
For convenience in subsequent use, you need to set the environment variables BanDataDir and BanStratDir.
BanDataDir expect to be an empty directory. It is the directory where backtest results and frontend UI resource files are saved during the operation of banbot. It is not recommended to set it as a subdirectory of the strategy project.
BanStratDir is the path to your trading strategy project (banstrats). Each time you run a backtest, banbot will automatically save the corresponding strategy code version for that backtest, making it easy for you to revert to a previous version.
For example, set the environment variables as follows:
nano ~/.zshrc
# If you are using a version earlier than Catalina, please use nano ~/.bash_profile
# Append the following lines to the end of the file:
export BanDataDir=/Users/YourName/bandata
export BanStratDir=/Users/YourName/banstrats
# Then save with Ctrl+O and exit with Ctrl+X
# Execute the following command to apply the changes
source ~/.zshrcnano ~/.bashrc
# Append the following lines to the end of the file:
export BanDataDir=/home/YourName/bandata
export BanStratDir=/home/YourName/banstrats
# Then save with Ctrl+O and exit with Ctrl+X
# Execute the following command to apply the changes
source ~/.bashrcBanDataDir=E:\quant\bandata
BanStratDir=E:\quant\banstratsNote that generally, you need to open a new terminal window for the changes to take effect.
Step 4. Modify the configuration file
In the strategy project, simply execute bot.exe init to automatically initialize the configuration files config.yml and config.local.yml in the BanDataDir. 
Then edit the config.local.yml file to set the database connection string, exchange keys, single transaction amount, trading strategy, and period, etc.
Example:
stake_amount: 100
wallet_amounts:
  USDT: 1000
time_start: "20240701"
time_end: "20250701"
pairs: ['ETH']
run_policy:
  - name: ma:demo
    run_timeframes: [15m]
accounts:
  user1:
    binance:
      prod:
        api_key: vvv
        api_secret: vvv
database:
  url: postgresql://postgres:123@127.0.0.1:5432/ban
# If the Binance API cannot be accessed in your region, please set the VPN proxy, HTTP_PROXY or system proxy
#exchange:
#  binance:
#    proxy: http://127.0.0.1:10808  # set `no` to disable system proxy
Step 5. Start WebUI
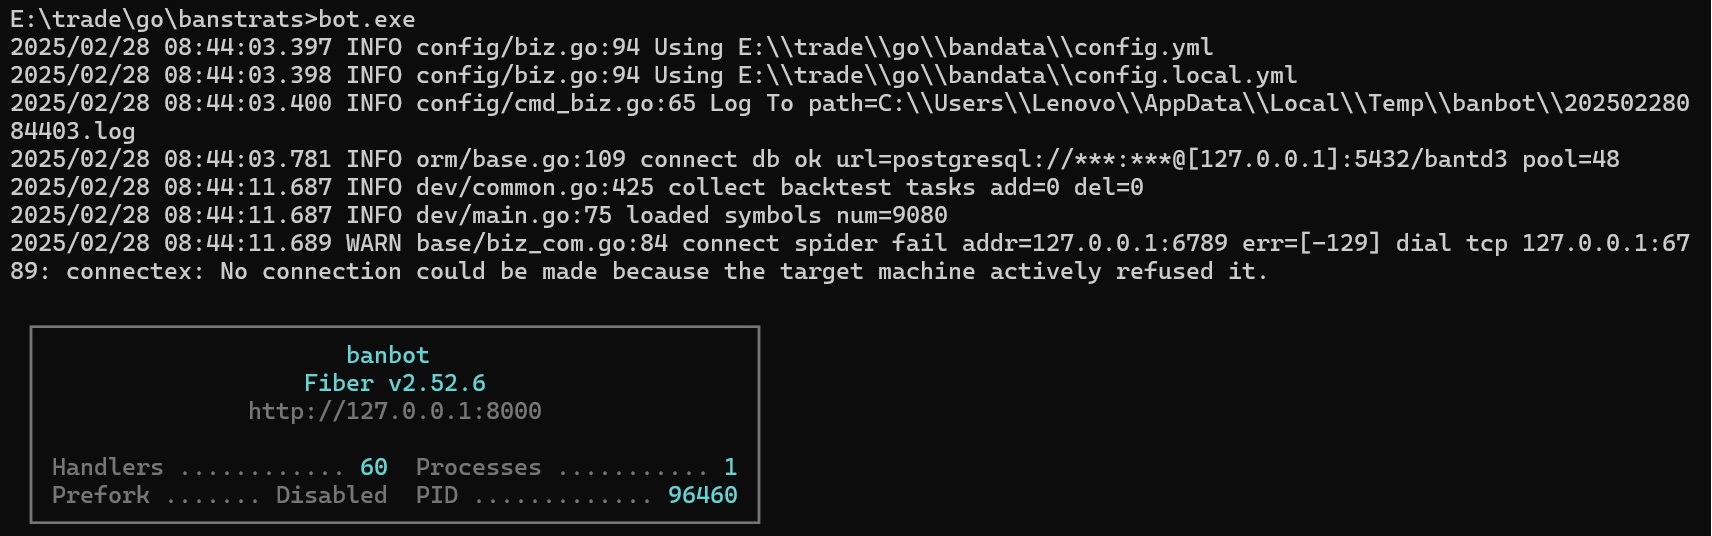
In the strategy project, simply execute bot.exe to start the WebUI and automatically open the browser.
You can also visit http://127.0.0.1:8000/en-US to experience it.
For more usage of the command line, please refer to.
When managing strategy projects, we recommend using AI IDE; you can also use Visual Studio Code or GoLand.